In Pursuit of Pumpkin: Pumpkin Custard

When fall comes around, I go pumpkin crazy. I’ve always loved the pumpkin pie at Thanksgiving, but I’m not sure I ever thought about enjoying pumpkin outside of that one day a year until Starbucks pumpkin spice lattes came into my life. Now, I’m one of those people who gets excited when it’s featured on their menu again every year (though one of my coworkers reminded me that you can get whatever flavor drink you want at Starbucks all year round). Even though we don’t usually get much of a fall in the South, once the calendar hits September, I have pumpkin on the brain. When I realized I had a preposterous number of pumpkin recipes pinned, I decided to share them here. Brad and Debby are back with the sixth of 10 different pumpkin recipes for your gustatory pleasure!

Still caught up in the excitement and glamor of the “Pumpkin Paroxysm”, I decided to try pumpkin custard.  How might it differ from good old pumpkin pie filling?  I didn’t know, and thought I would find out.  I drew inspiration from this recipe on Taste of Home but made several modifications.

Preheat oven to 350 °F.

Ingredients

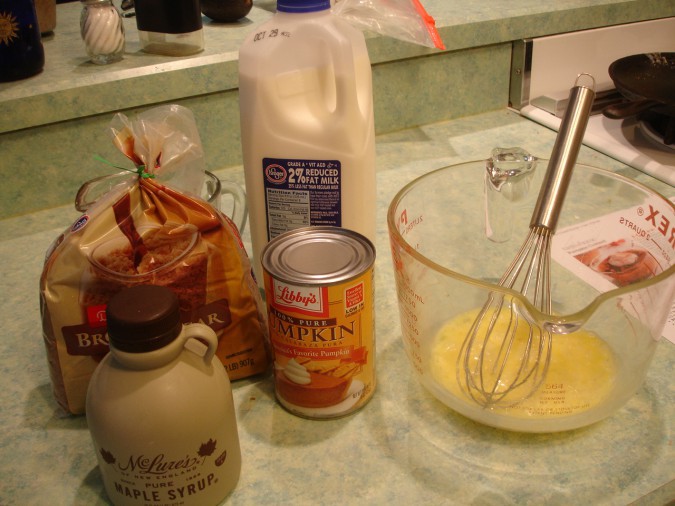
1 can (15 oz) pumpkin 2 eggs 1 cup 2% milk 1/2 cup packed brown sugar 3 tablespoons maple syrup Spice mix (1/2 teaspoon ginger, ½ teaspoon cinnamon, ¼ teaspoon ground cloves, ¼ teaspoon ground nutmeg) ½ teaspoon salt

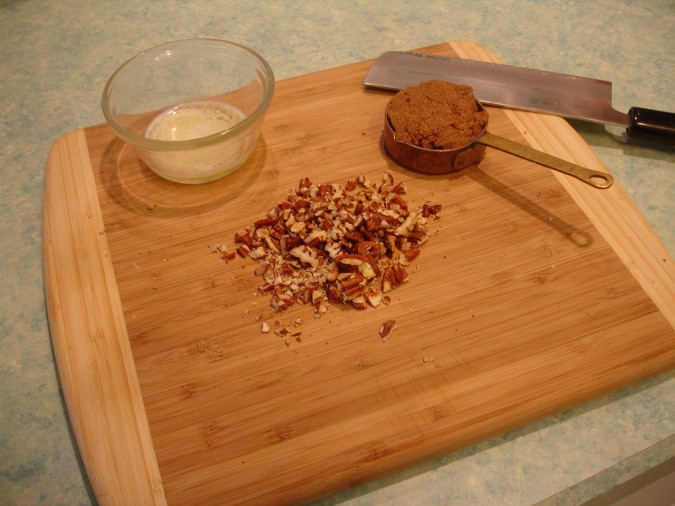
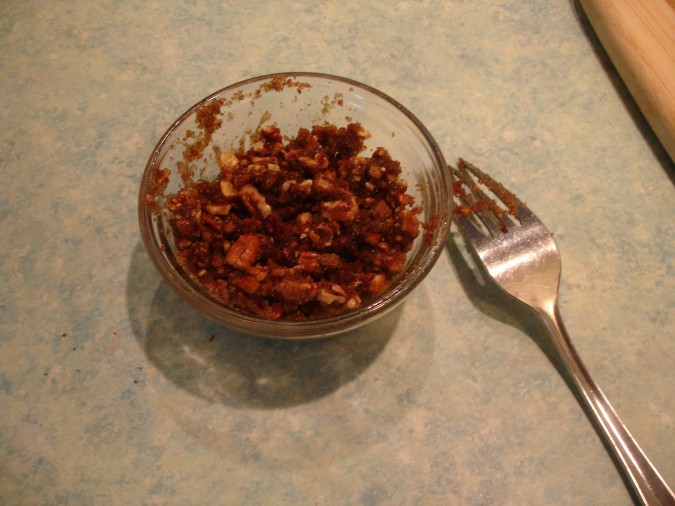
Topping: ¼ cup brown sugar, ¼ cup chopped pecans, 1 tablespoon melted butter

Directions

(Start some water (1-2 quarts boiling); it will be needed soon.)

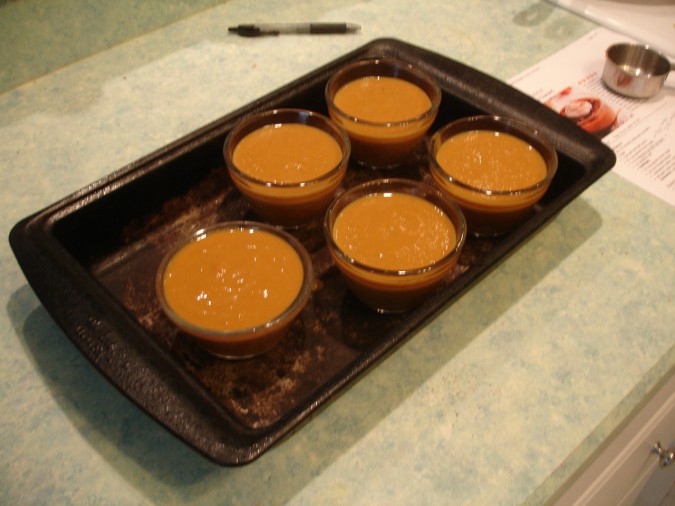
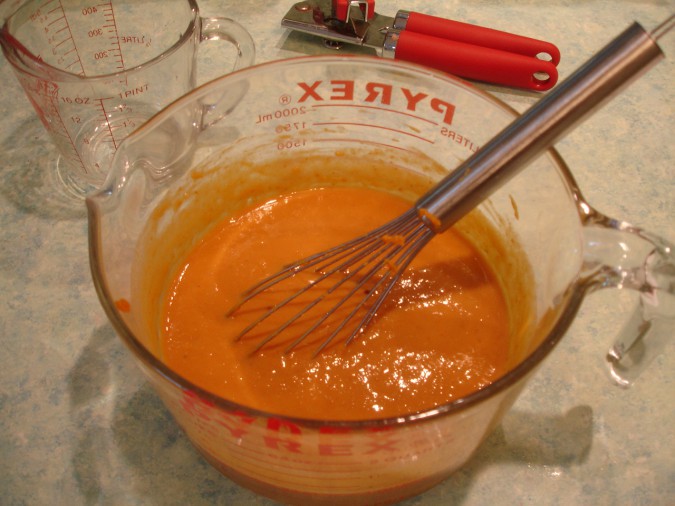
1.  Combine all of the ingredients and mix until smooth.  It looked like this:

2.  Pour mixture into custard cups.  How many depends on their size.  I needed five.  Place these in a baking pan.

Now the tricky, and potentially dangerous, part – pour the hot water around the cups.  The water should have a depth of about 1 inch – it need not be exact.  About half way up the cups.  What is the point of this?  I don’t know exactly, but probably the water serves to distribute the heat more evenly.  The professor in me can now pontificate!  An unusual property of water compared to other liquids is its heat capacity.  Heat capacity is a unique physical property for  every substance and is the amount of heat required to raise the temperature of an object or substance one degree.  For water, it takes 1 calorie to raise 1 gram 1 degree.  That is a lot compared to other liquids (for ethanol, for example, it takes only 0.58 cal to raise 1 gram 1 degree).  Because of this heat capacity, water resists wild swings in temperature.  It takes a lot of energy to heat or cool it.  Anyway, once the water is in the pan, carefully put it in the preheated oven.  KLUTZ ALERT!  You are moving a large pan with a lot of hot water.  Don’t burn yourself or anyone around you. Try not to drop it!

3.  Bake the custard cups, uncovered, for 20 minutes at 350 °F.

4.  In that 20 minutes, mix up the topping.

5.  After the 20 minutes, CAREFULLY slide the oven rack out to gain access to the cups, and sprinkle the topping on the custard.  Be careful!  There is nothing to fear, but there are hot surfaces and hot water that could burn.

6.  Bake for another 30-35 minutes once the topping is on.  The custard is done when a “knife inserted near the center comes out clean”.  I hate that particular instruction.  I can never decide what clean is, and call in Debby for a consultation.  She usually says “I don’t know, leave it in a little longer…”,  then the process is repeated a few minutes later.  Eventually , I just take the stuff out.  The same applies here.

7.  CAREFULLY remove the pan (with the hot water!) from the oven.  Now another problem presents itself.  The individual cups need to be removed from the pan of hot water so they don’t keep cooking.  How?  I don’t know the best way.  If your fingers are tough I suppose you could quickly grab the cup by the edge and move it to the counter.  Might burn… I tried one this way and while I wasn’t even slightly injured, I wouldn’t recommend it.   I then used a spatula with holes and a second tool, a large spoon, to lift them out.  Slide the spatula under the cup (right hand) while stabilizing with the spoon (left hand). Lift out and slide onto counter.

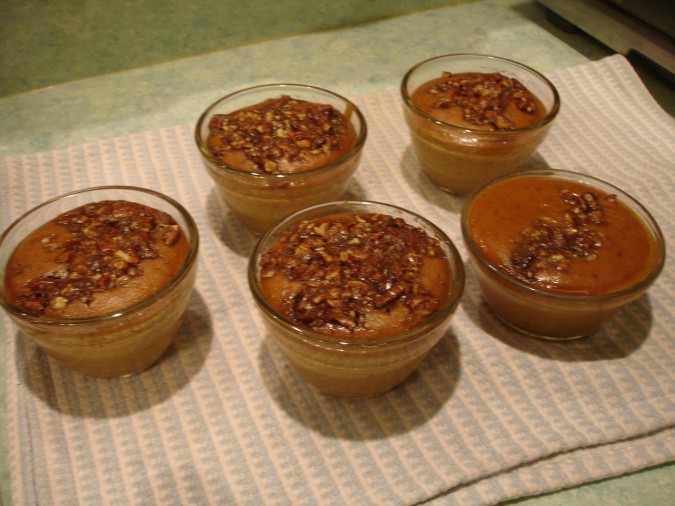
  1. Done!

The custards can be eaten immediately or after they cool.  We liked the recipe!  It is much lighter than the typical pumpkin pie filling, less dense and fluffier.  Debby liked the fact that there is no crust, unlike pie.  The custard could be topped with whipped cream.  Not having any around, I whisked together some plain yogurt, maple syrup and vanilla extract as a topping.   It added some creaminess and contrast.

I think these could be great if someone has just gotten their wisdom teeth out around Thanksgiving and can’t eat the real stuff! And I guess if you foolishly don’t like pie crust (which I happen to love), these would be a delightful option. Though I’m not sure they’re much lower carb…
In Pursuit of Pumpkin: Pumpkin Oatmeal

When fall comes around, I go pumpkin crazy. I've always loved the pumpkin pie at Thanksgiving, but I'm not sure I ever thought about enjoying pumpkin outside of that one day a year until Starbucks pumpkin spice lattes came into my life. Now, I'm one of those people who gets excited when it's featured on their menu again every year (though one of my coworkers reminded me that you can get whatever flavor drink you want at Starbucks all year round). Even though we don't usually get much of a fall in the South, once the calendar hits September, I have pumpkin on the brain. When I realized I had a preposterous number of pumpkin recipes pinned, I decided to share them here. This is the fifth of 10 different pumpkin recipes for your gustatory pleasure!

I have a love/hate relationship with oatmeal. Well, if I'm honest, it is mostly hate. I want to like oatmeal, because it seems so wholesome and warming for a cool morning. But in reality, the texture almost always turns me off. Yet I keep trying it and trying it...so of course when I saw this pumpkin version from Peak 313 Fitness, I knew I'd eventually give it a try. I had a partial can of pumpkin left after making my pumpkin smoothie recently, and as most baked goods call for the entire can, I was excited to find a recipe that would use some of it up.

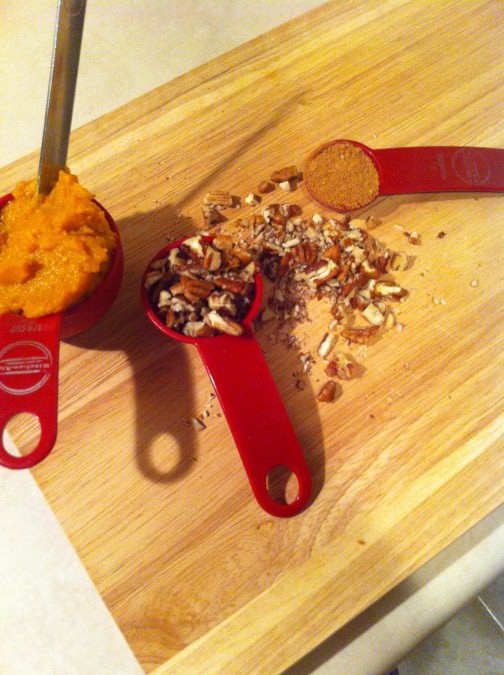
The ingredients:

  • 1/2 cup rolled oats
  • 1/4 cup almond or skim milk
    (Mine was vanilla almond milk)
  • 1/2 cup water
  • 1/4 teaspoon cinnamon
  • 1/4 teaspoon nutmug
    (I used 1 tsp of my home-mixed pumpkin pie spice.)
  • 1/4 cup canned pumpkin puree
  • 1/2 tablespoon ground flax seed
    (I didn't have this, so I left it out.)
  • 1 tablespoon chopped nuts (walnuts, pecans, or almonds)
    (I used pecans.)

I didn't take a picture of them all assembled like I usually do, because I stumbled out of bed one Saturday and decided to make this on a whim. But I think you know what all of those things look like.

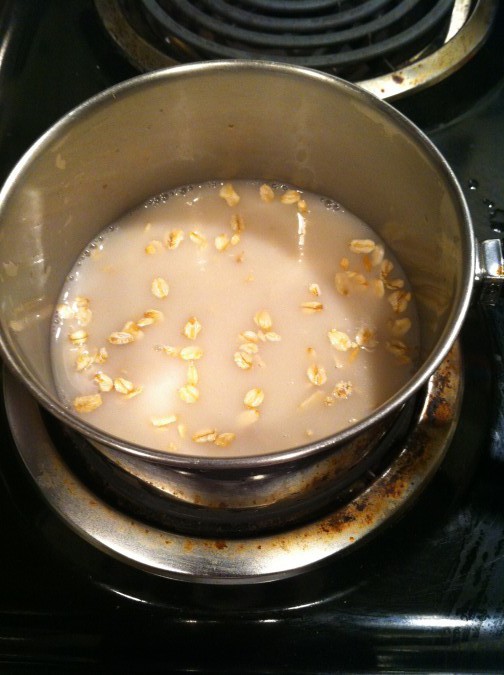
First you put the oats, milk, and water into a small saucepan and bring to a boil:

Doesn't look so good yet!

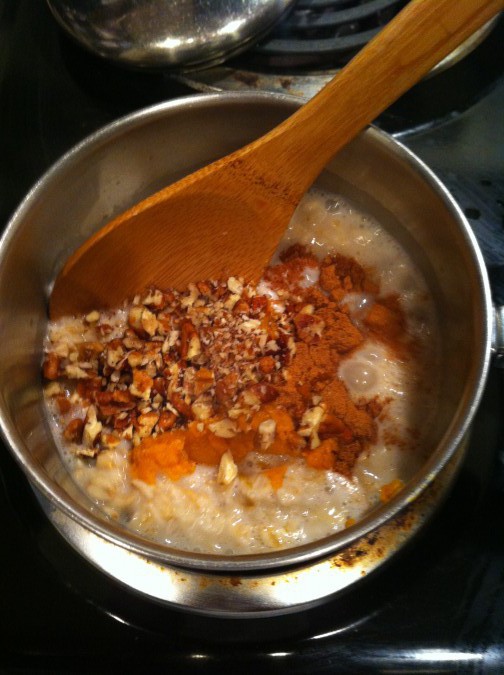
Once it comes to a boil, stir in the pumpkin, spices, and pecans.

Simmer for another 2-3 minutes or until the oatmeal is done.

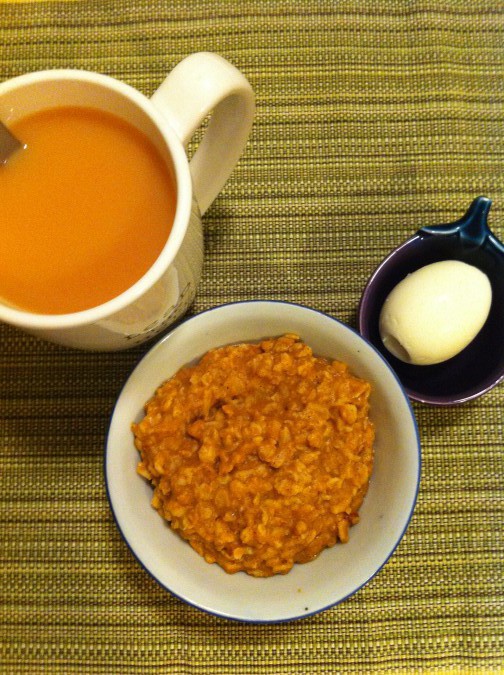
As all the pumpkin things I've tried so far, this comes out to be a beautiful color! If nothing else, pumpkin is good for a color. Plus, I considered the pumpkin to be the fruit part of my balanced fall breakfast.

I probably cooked this a bit too long, as I honestly mostly ignored it while I fixed my tea and peeled my egg. But actually, the more solid consistency helped me get over some of my oatmeal squeamishness. This didn't have a TON of flavor, and I thought it could have been sweeter, but it was warm and satisfying as I had hoped. I saved about half in a bowl and reheated it the next morning with an added splash of almond milk. I think I might have liked it even better that way! It was creamier and sweeter, and I liked how the almond milk made it a little squishy. Plus the spices seemed to have intensified overnight. Maybe I'm weird, but I'd recommend making this and then eating it the next day!

I'm not an oatmeal convert, but I'd throw this into my fall breakfast rotation in years to come.

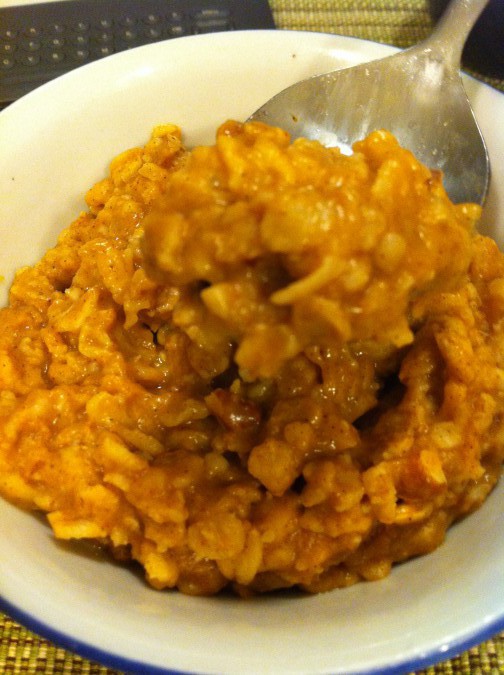
Here's a bite for you!

How do you like your oatmeal (or do you sort of hate it like I do)?

In Pursuit of Pumpkin: Pumpkin Margaritas

When fall comes around, I go pumpkin crazy. I’ve always loved the pumpkin pie at Thanksgiving, but I’m not sure I ever thought about enjoying pumpkin outside of that one day a year until Starbucks pumpkin spice lattes came into my life. Now, I’m one of those people who gets excited when it’s featured on their menu again every year (though one of my coworkers reminded me that you can get whatever flavor drink you want at Starbucks all year round). Even though we don’t usually get much of a fall in the South, once the calendar hits September, I have pumpkin on the brain. When I realized I had a preposterous number of pumpkin recipes pinned, I decided to share them here. This is the fourth of 10 different pumpkin recipes for your gustatory pleasure!

Today we’re being joined by none other than my parents, who are perhaps more adventurous than I! Awhile ago, my dad sent me a collection of pumpkin cocktail recipes. I was pretty skeptical. I like pumpkin beer, as evidenced by my recent Instagrams:

…and in fact at one point last year even made it my veritable mission in life to find some. But I had trouble imagining the pumpkin taste (and especially the texture!) in a cocktail. So without further ado, let me introduce my dad to tell you about their pumpkin margarita experience!

“We normally like simple margaritas, one shot each of tequila, triple sec and fresh lime juice.  Caught up in the excitement of Laura’s “In Pursuit of Pumpkin…” series, we decided to bust out and try something exotic – Pumpkin Margarita.  A Google search revealed a few alternatives.  We were influenced by this recipe, which we took as a starting point.

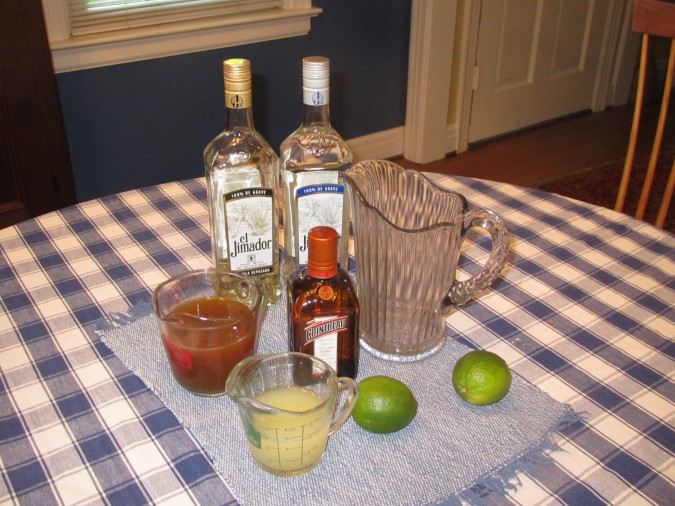
We assembled the ingredients:

  • Limes
  • Tequila
  • Cointreau
  • 1 can Pumpkin
  • ¾ Cup Brown Sugar
  • 1 cinnamon stick
  • 1 tsp allspice
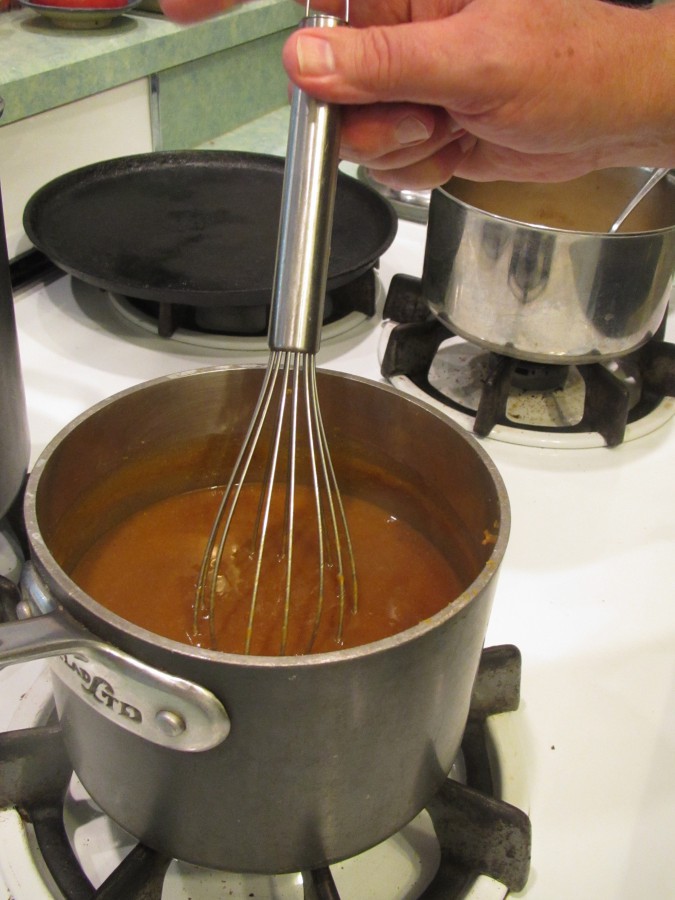
  1. The first step was to heat 1.5 cups water, ¾ cup brown sugar, the spices and the can of pumpkin.  We let it simmer for about 20 minutes, stirring now and then.  This makes a pumpkin flavored syrup.

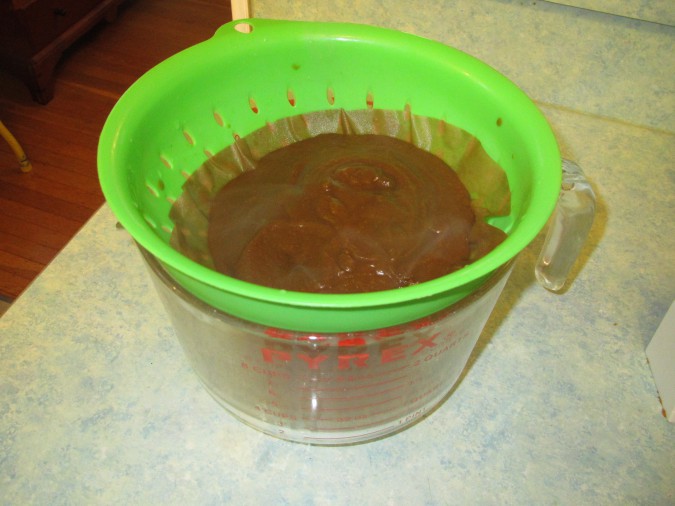
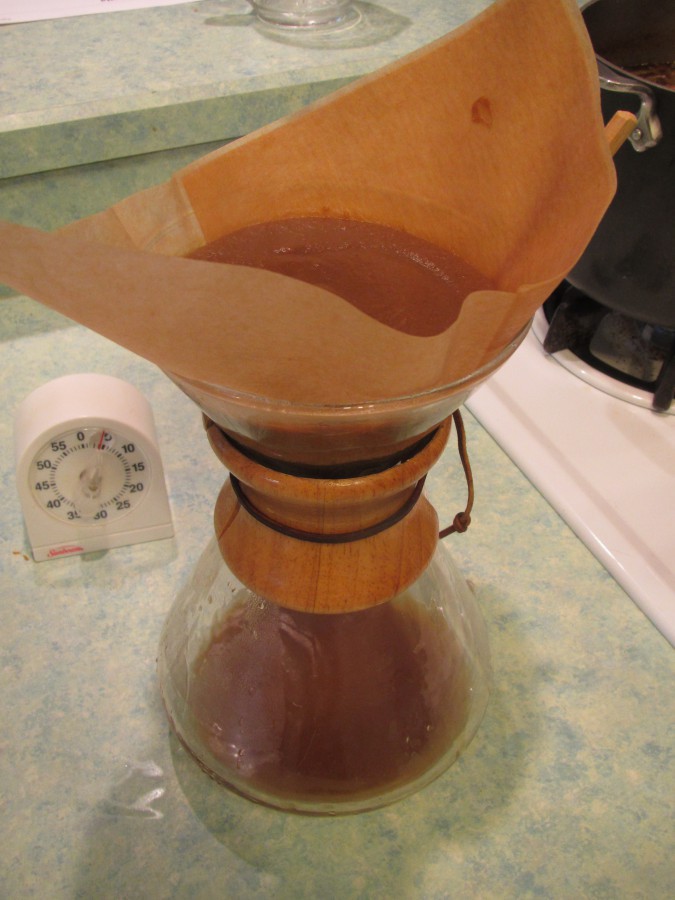
  1. The most challenging part came next.  The mixture needs to be strained to get the liquid.  The original recipe was a little vague about how to do this and also advised to let the mixture cool completely.  The chemist in me took over here.  Why cool it?  That would only increase the viscosity of the mixture and slow the filtration process.  Instead of a “fine mesh strainer”, I decided to use coffee filters.  We had two options: one was a Chemex coffee setup, the other was a colander I lined with “Kroger 8-12 Cup Basket Coffee Filters (unbleached).

Even with the mixture warm, filtering took a while.  We walked up to our local bookstore, browsed for a while, then had coffee.  When we got back, the filtration was done.  We got about 1.5 cups of pumpkin syrup.  It tasted like pumpkin! At this point, things are almost ready to go!

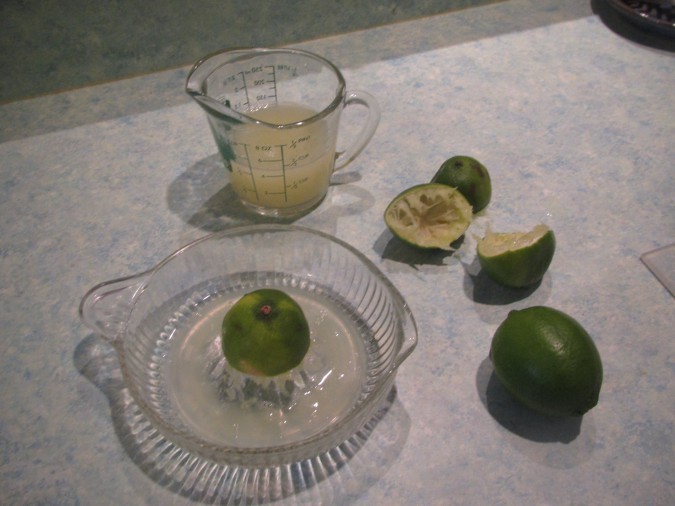
  1. Squeeze the limes to get juice.

Now things are really ready to go.

4.  Mix everything together in a pitcher.  I used 1 cup tequila, 2/3 cup Cointreau, 2/3 cup pumpkin syrup, 2/3 cup lime juice.  Stir well.  At this point, I am feeling parched – PARCHED!

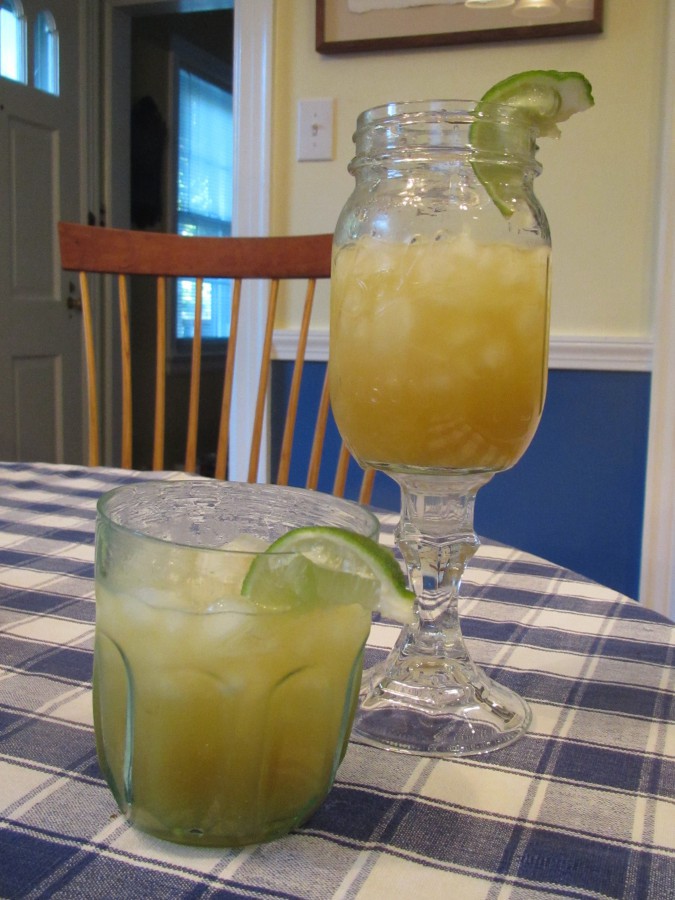
5.  This needs to be served in the finest stemware available, over crushed ice with an added lime wedge.

We didn’t salt the rims, but one could.  (Wet the rim with lime juice, dip in salt.)

6.  Here we are trying these:


These didn’t have much of a pumpkin taste, but were very smooth and mellow. Their color was pleasant. They were a good change from our usual concoction.  Not sure it is worth the trouble to make the pumpkin syrup, but it all was pretty festive!”

Don’t you want to change all of your Thanksgiving plans to have turkey fajitas and pumpkin margaritas this year?!? Yeah. I thought so. Thanks to my parents for branching out and testing this recipe for us! Have you had any crazy cocktail concoctions lately? What’s the weirdest flavor that you’ve enjoyed in an incongruous place?

Works for Me Wednesday: Potholders

Andy and I have a lot of potholders.

Yep, those still have the tags on them.

But unfortunately, my favorite is this puppy:

Uh, yuck. I can’t believe I’m showing these photos on the internet!

This is actually the second incarnation of what I’ve finally learned is called a double oven glove. We got the first as (I think) an engagement gift from some of Andy’s family in Ireland. Unfortunately, it ended up looking about like the one above! So last summer I set out to find a new one, which has now become the ugly, yucky one.

You might be asking why I don’t just use some of the other plethora of potholders! The little ones have this nice grippy stuff on them, but I’m nervous of how exposed my arms and hands are when I use them. The mitts take care of that aspect, but I don’t have anywhere convenient to keep them! Thus, the beauty of the double oven glove. It hangs on the stove!

When I need to grab it, I can just slip my hands into it and go.

SO, after some digging, I found the above new cute one at Marshall’s for a mere $4.99. They’ve proven a little hard to find at a reasonable price, but I keep them on my mental list of things to browse for when I’m at housewares stores. This one was the jackpot.

(Unfortunately the first morning I used it, I hastily reached into the toaster oven and singed a hole in it on the upper heating element. Boo! I guess that’s how Cute New Potholders become Ugly Yucky Potholders.)

Even though I have 4 other potholders, the convenient double oven glove works best for me.

I’m linking up to Works for Me Wednesday at WeAreThatFamily.com! works for me wednesday at we are that family

Crockpot "Baked" Potatoes

When I went up to Asheville for the Becoming Conference a couple of weeks ago, I had a chance to hear Jen Schmidt’s talk on Ten Minute Dinners. I’ve been reading her blog for several years now, so most of the concepts were not new to me. But as she talked about feeding a group of thirty in a mountain cabin by setting up “assemble your own” bars for various foods, I found myself brainstorming, and I wrote in my notebook, “Baked potatoes in the crockpot?”

I got home and Googled it, and of course I was not the first to wonder if you could do this. Various sources told me to wrap the potatoes tightly in foil before placing them in the crockpot. Others told me to oil and salt the outsides of the potatoes and puncture them before cooking. Still others said to do nothing, not even poke them, that they would cook just fine.

My original plan was to do a few in foil and a few “naked” as an experiment, but, uh, we ran out of foil the night before I made these. So naked potatoes in the crockpot it was!

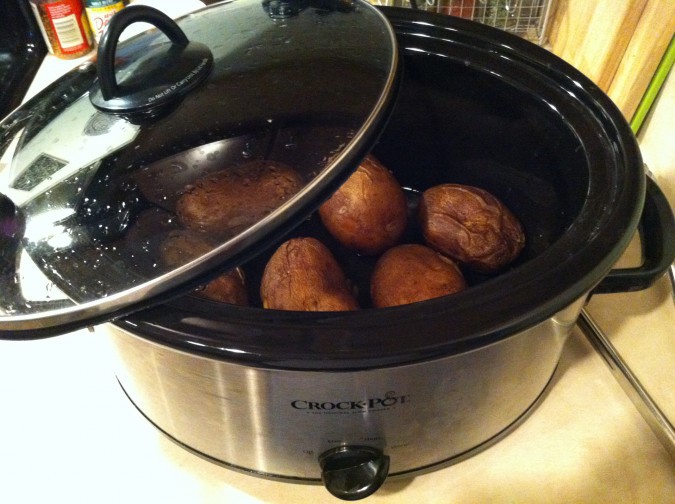
I rubbed the skins with some olive oil and kosher salt for flavor and popped those suckers in for the day:

I left them on low while I was at work and came home to cooked potatoes! A few caveats: the skins don’t get crispy, and the flesh is a little yellower than a normal baked potato. But don’t let those turn you off! They tasted great (and this is coming from the girl who doesn’t even like potatoes that much).

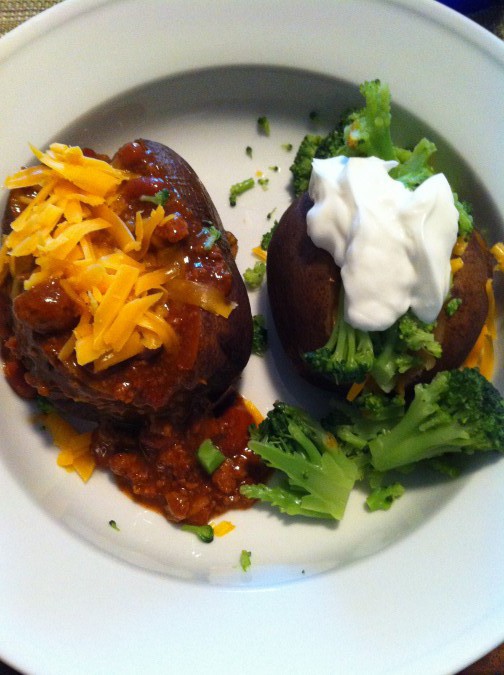
I had picked up a can of turkey chili at the grocery store, so our topping options were chili and cheese or broccoli, cheese, and yogurt (in place of sour cream).

Along with some cut up fruit, this was a warm and satisfying meal! This would be great for a crowd, because I think you could pile the potatoes into the crockpot with no dire effects. The potatoes produce a bit of moisture, so it’s almost like they’re steamed rather than baked. And you could go crazy with the toppings! Another one we had in our fridge that was tempting to me was some shredded chicken with cheese and barbecue sauce.

What would you put on your crockpot baked potatoes? Have you used your crockpot for anything new lately?

I’m linking up to the Tasty Tuesday Parade of Foods at BeautyandBedlam.com!

tasty tuesday larger logo Tasty Tuesday Parade of Foods: Encourage One Another