When fall comes around, I go pumpkin crazy. I’ve always loved the pumpkin pie at Thanksgiving, but I’m not sure I ever thought about enjoying pumpkin outside of that one day a year until Starbucks pumpkin spice lattes came into my life. Now, I’m one of those people who gets excited when it’s featured on their menu again every year (though one of my coworkers reminded me that you can get whatever flavor drink you want at Starbucks all year round). Even though we don’t usually get much of a fall in the South, once the calendar hits September, I have pumpkin on the brain. When I realized I had a preposterous number of pumpkin recipes pinned, I decided to share them here. Brad and Debby are back with the sixth of 10 different pumpkin recipes for your gustatory pleasure!
Still caught up in the excitement and glamor of the “Pumpkin Paroxysm”, I decided to try pumpkin custard. How might it differ from good old pumpkin pie filling? I didn’t know, and thought I would find out. I drew inspiration from this recipe on Taste of Home but made several modifications.
Preheat oven to 350 °F.
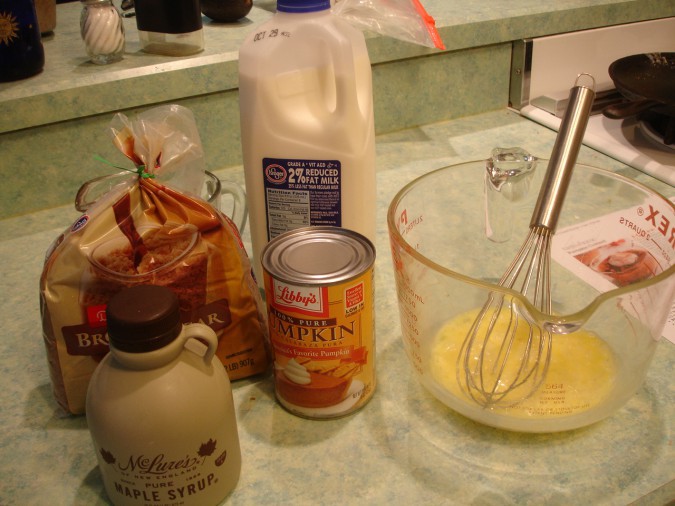
Ingredients
1 can (15 oz) pumpkin 2 eggs 1 cup 2% milk 1/2 cup packed brown sugar 3 tablespoons maple syrup Spice mix (1/2 teaspoon ginger, ½ teaspoon cinnamon, ¼ teaspoon ground cloves, ¼ teaspoon ground nutmeg) ½ teaspoon salt
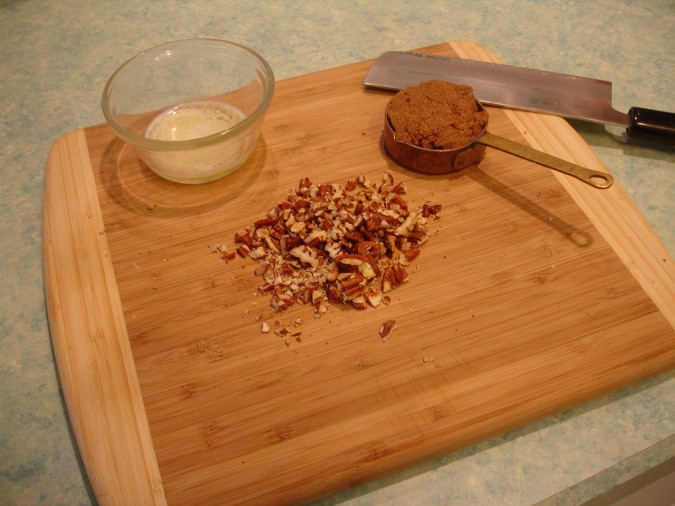
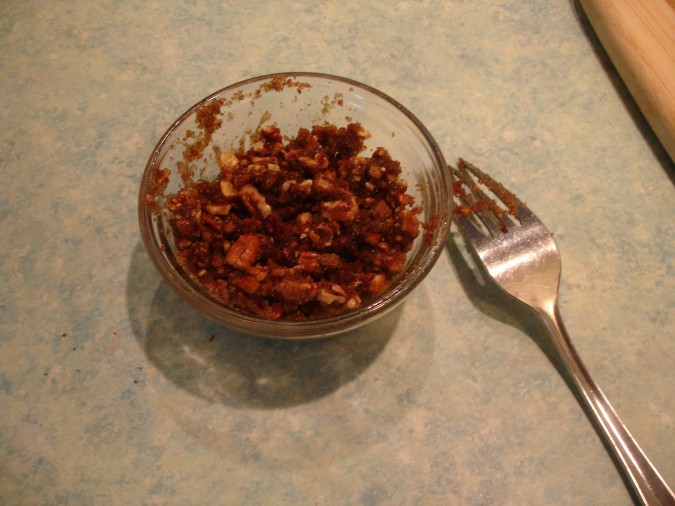
Topping: ¼ cup brown sugar, ¼ cup chopped pecans, 1 tablespoon melted butter
Directions
(Start some water (1-2 quarts boiling); it will be needed soon.)
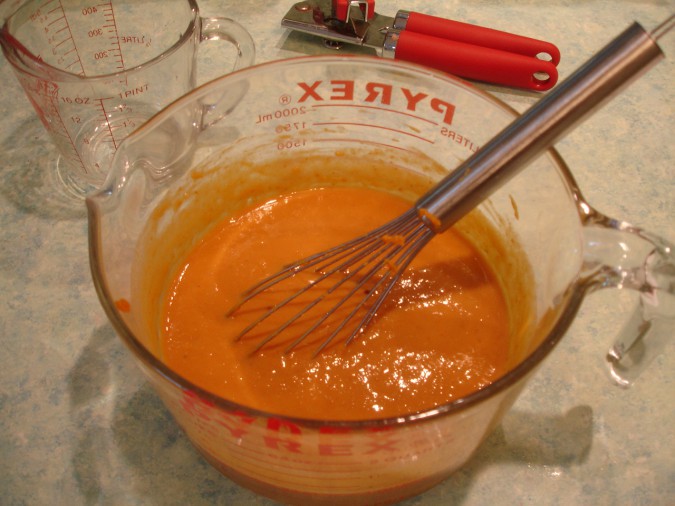
1. Combine all of the ingredients and mix until smooth. It looked like this:
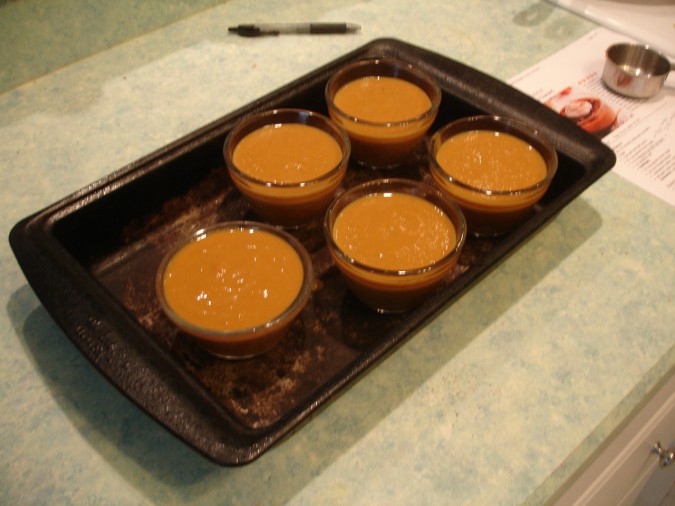
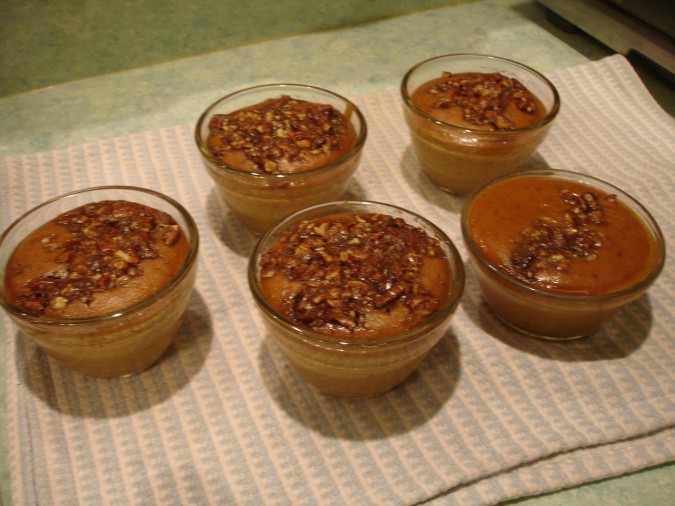
2. Pour mixture into custard cups. How many depends on their size. I needed five. Place these in a baking pan.
Now the tricky, and potentially dangerous, part – pour the hot water around the cups. The water should have a depth of about 1 inch – it need not be exact. About half way up the cups. What is the point of this? I don’t know exactly, but probably the water serves to distribute the heat more evenly. The professor in me can now pontificate! An unusual property of water compared to other liquids is its heat capacity. Heat capacity is a unique physical property for every substance and is the amount of heat required to raise the temperature of an object or substance one degree. For water, it takes 1 calorie to raise 1 gram 1 degree. That is a lot compared to other liquids (for ethanol, for example, it takes only 0.58 cal to raise 1 gram 1 degree). Because of this heat capacity, water resists wild swings in temperature. It takes a lot of energy to heat or cool it. Anyway, once the water is in the pan, carefully put it in the preheated oven. KLUTZ ALERT! You are moving a large pan with a lot of hot water. Don’t burn yourself or anyone around you. Try not to drop it!
3. Bake the custard cups, uncovered, for 20 minutes at 350 °F.
4. In that 20 minutes, mix up the topping.
5. After the 20 minutes, CAREFULLY slide the oven rack out to gain access to the cups, and sprinkle the topping on the custard. Be careful! There is nothing to fear, but there are hot surfaces and hot water that could burn.
6. Bake for another 30-35 minutes once the topping is on. The custard is done when a “knife inserted near the center comes out clean”. I hate that particular instruction. I can never decide what clean is, and call in Debby for a consultation. She usually says “I don’t know, leave it in a little longer…”, then the process is repeated a few minutes later. Eventually , I just take the stuff out. The same applies here.
7. CAREFULLY remove the pan (with the hot water!) from the oven. Now another problem presents itself. The individual cups need to be removed from the pan of hot water so they don’t keep cooking. How? I don’t know the best way. If your fingers are tough I suppose you could quickly grab the cup by the edge and move it to the counter. Might burn… I tried one this way and while I wasn’t even slightly injured, I wouldn’t recommend it. I then used a spatula with holes and a second tool, a large spoon, to lift them out. Slide the spatula under the cup (right hand) while stabilizing with the spoon (left hand). Lift out and slide onto counter.
- Done!
The custards can be eaten immediately or after they cool. We liked the recipe! It is much lighter than the typical pumpkin pie filling, less dense and fluffier. Debby liked the fact that there is no crust, unlike pie. The custard could be topped with whipped cream. Not having any around, I whisked together some plain yogurt, maple syrup and vanilla extract as a topping. It added some creaminess and contrast.
I think these could be great if someone has just gotten their wisdom teeth out around Thanksgiving and can’t eat the real stuff! And I guess if you foolishly don’t like pie crust (which I happen to love), these would be a delightful option. Though I’m not sure they’re much lower carb…
