When fall comes around, I go pumpkin crazy. I’ve always loved the pumpkin pie at Thanksgiving, but I’m not sure I ever thought about enjoying pumpkin outside of that one day a year until Starbucks pumpkin spice lattes came into my life. Now, I’m one of those people who gets excited when it’s featured on their menu again every year (though one of my coworkers reminded me that you can get whatever flavor drink you want at Starbucks all year round). Even though we don’t usually get much of a fall in the South, once the calendar hits September, I have pumpkin on the brain. When I realized I had a preposterous number of pumpkin recipes pinned, I decided to share them here. Here's the 7th of 10 different pumpkin recipes for your gustatory pleasure!
Scones have been oversimplified for me by the "just add water" mixes we've gotten from Andy's family in Ireland, but when I told my mom I was making these pumpkin scones recently, she reminded me of the couple of scone fails she and I have had. Oh, right. Scones are not the simplest baked good! And yet, with this recipe from The Shoebox Kitchen (originally on http://sweetpeaskitchen.com/) I was able to easily turn out a batch of beautifully glazed, light and fluffy scones. Success!
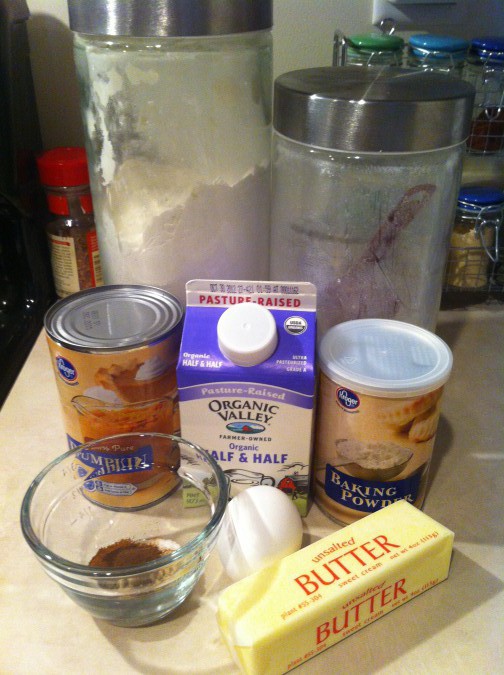
The cast of characters looks pretty familiar by now:
- 2 cups all purpose flour
- 1/4 cup plus 3 tablespoons granulated sugar
- 1 tablespoon baking powder
- 1/2 teaspoon salt
- 1/2 teaspoon ground cinnamon
- 1/2 teaspoon ground nutmeg
- 1/4 teaspoon ground cloves
- 1/4 teaspoon ground ginger
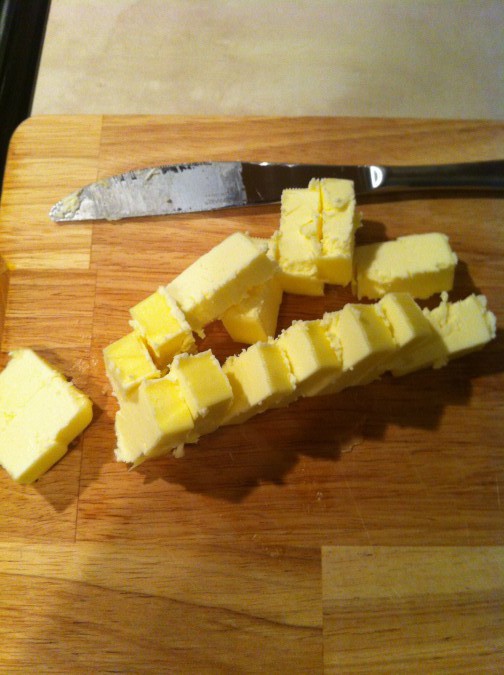
- 6 tablespoons cold butter, cut into 1-inch cubes
- 1/2 cup canned pumpkin
- 3 tablespoons half-and-half
- 1 large egg
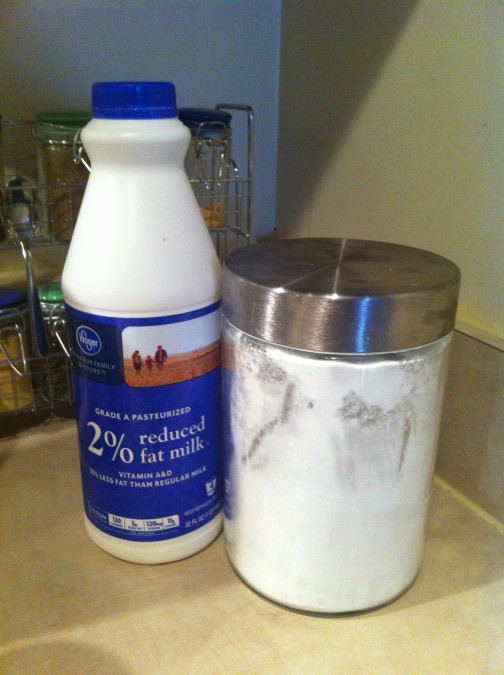
Coincidentally, I had EXACTLY 3 tablespoons of half and half left in my carton, which I hadn't known until this point in the recipe. (I was going to substitute milk up to the right amount if needed.)
Spiced Glaze
- 1 cup plus 3 tablespoons powdered sugar
- 2 tablespoons milk
- 1/4 teaspoon ground cinnamon
- 1/8 teaspoon ground nutmeg
- Pinch of ground ginger
- Pinch of ground cloves
Preheat your oven to 425 degrees and line a baking sheet with parchment paper. (I never actually do the preheating bit until later on. I'm not sure why. It just stresses me out a little bit if the oven is hot and I'm not ready to put my stuff in it yet!)
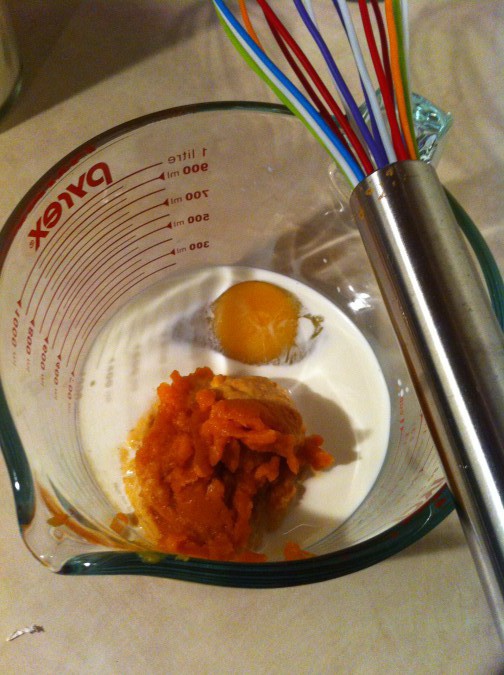
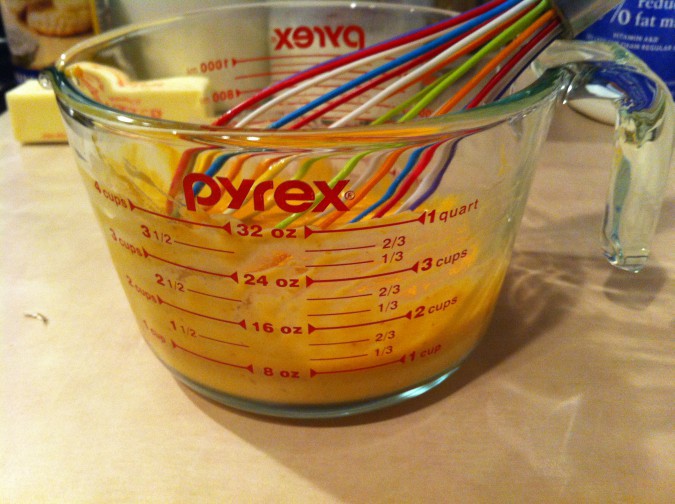
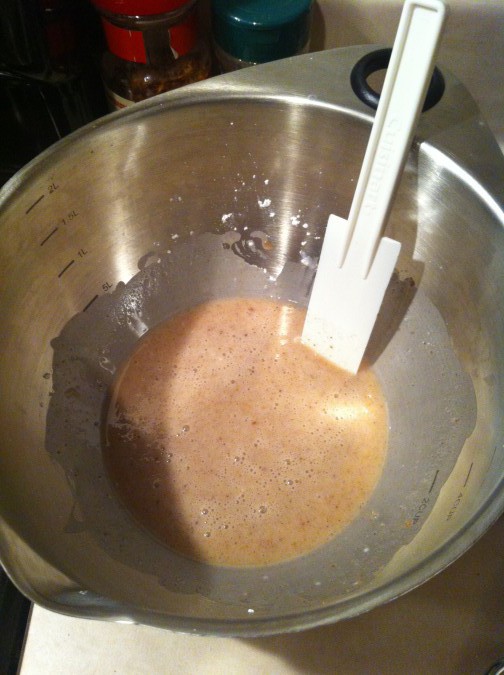
In a mixing bowl, whisk together the pumpkin, half-and-half, and egg. Set aside.
There's that beautiful orange color I've come to know and love!
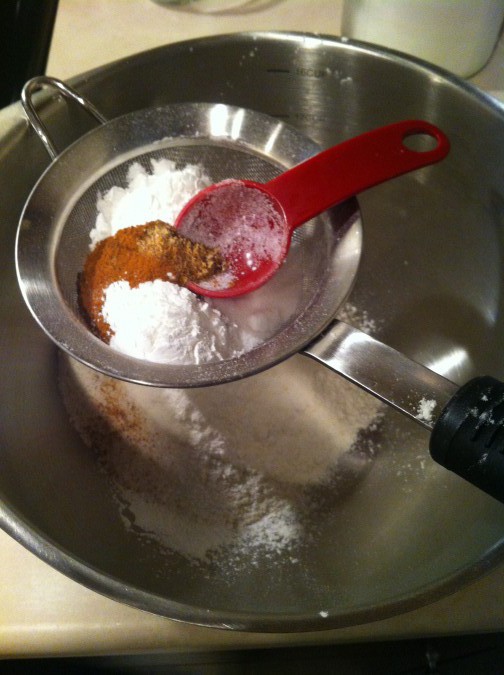
Sift together the flour, sugar, baking powder, salt, cinnamon, nutmeg, cloves, and ginger together into a large mixing bowl. Add the cubed butter on top. (I don't actually have a sifter, so I rigged the contraption below. Worked just fine!)
The recipe I followed called for the mixing to be done with a pastry blender, stand mixer, or food processor, but I happen to know that your fingers can work just as well (which is good, since I only have one of the above electronics and didn't feel like getting anything else dirty by using it). With a light hand, pinch the pats of butter between your fingers until the dry ingredients mixture begins to stick to them. You eventually want a coarse mixture of butter and bits of flour, etc.
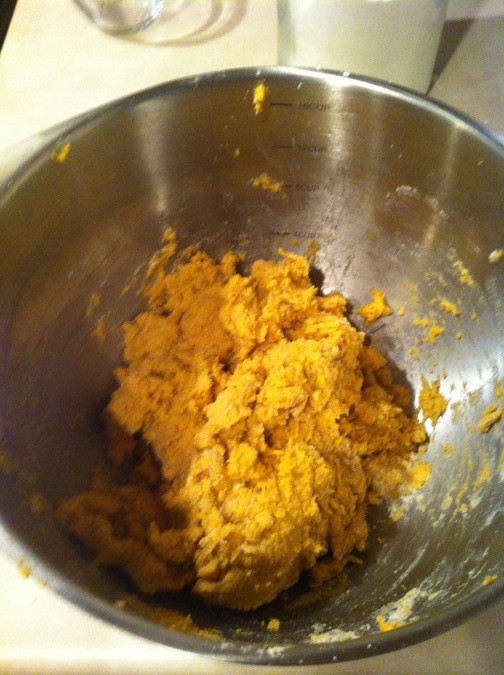
Gradually add the wet ingredients to the dry and mix gently. You want to stop mixing as soon as all the dry ingredients are moistened--scones get tough if you work the dough too much!
This batter is STICKY! I started mixing with a spatula and then tried to use my hands, but I got so much goop on my fingers that I ended up washing my hands and switching back to the spatula.
I don't have pictures of the next few steps because, well, my fingers were covered in the aforementioned goop. Having a co-pilot might be helpful if you decide to make these scones, because it's awkward when you need to grab something but your hands are all batter-y!
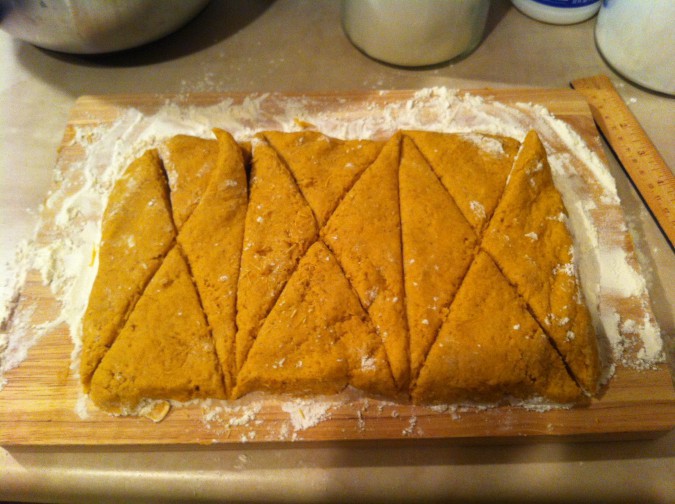
On a well-floured surface, flatten and form the dough into a 12″ x 4″ x 1″ thick rectangle. (Emphasis on the WELL FLOURED, and you'll probably want to flour your hands, as well.) Using a sharp knife or pizza cutter, divide the rectangle into three equal pieces, then slice each piece into four triangular pieces by making an “X” through them.
My rectangle didn't quite make it to 12", and it was thinner than 1" thick, but I decided that having it not quite the right size was better than working the dough too much. (And I see now that it was probably more than 4", so that was my problem! And yes, that's a ruler you see over there. I measured...but clearly only one direction! Whoops!)
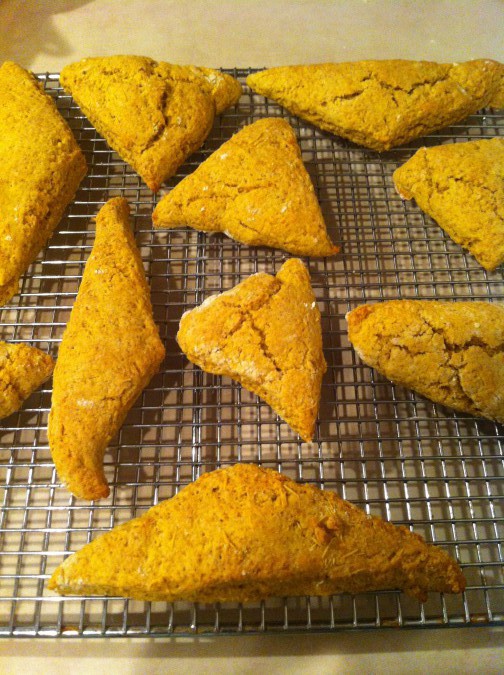
Place the triangles of dough on the parchment-lined baking sheet and bake for just 15 minutes, or until light brown. Remove to a cooling rack and let cool before icing.
I mixed up the sugar glaze while the scones were baking. The original recipe called for a double glaze: one plain sugar and the other spiced, drizzled in a nice little pattern. I decided for simplicity's sake to just make the spiced glaze and use it as the primary. It's amazing how easily powdered sugar and a little bit of milk mix together to make a liquidy glaze!
Not the prettiest color, but it tasted delicious!
The scones turned out beautifully, and thanks to the parchment paper there was neither sticking nor clean-up. :-)
Yeah, yeah, yeah, they're all slightly different shapes...
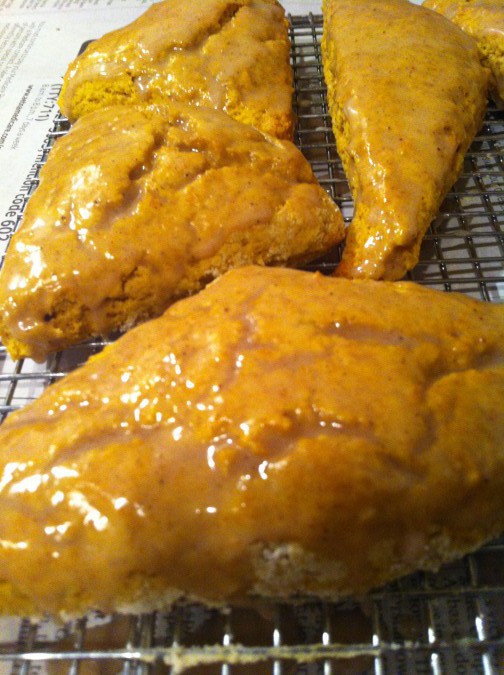
I let them cool for a bit and then used this weird plastic brushy thing (I guess maybe it's a pastry brush of sorts, or a grill basting brush? Whatever, it worked.) to slather the glaze all over them. I put some newspaper under the wire rack at this point so that my counter wouldn't become glazed in the process.
After a little more cooling, the glaze hardened up nicely. The scones themselves aren't super sweet, so the glaze adds a nice bit of sugar and spice. I think the pumpkin makes these a bit cakier than your typical scone, which is perhaps why they seemed easier. No dense, dry scones here! I enjoyed one as an evening snack and one for breakfast the next morning, which was delicious reheated for about 20 seconds in the microwave.
Bon appetit!
