Today’s post is from my friend and fellow blogger Kyle Wrather, of the eponymous website kylewrather.com. (Side note: I was pretty excited to get to use the word eponymous in real life.) Kyle recently completed a few home improvement projects, which I find is no small feat when you live in an apartment with no outside space. Without further ado, here’s what he did.
During a weekend when my wife was out of town visiting family, I took the opportunity to tackle a few household projects I’ve been putting off – mostly concerning IKEA furniture.
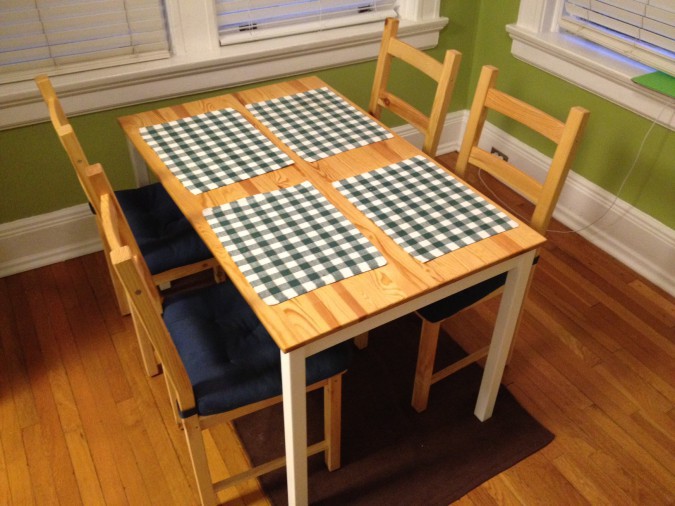
When we moved to Atlanta from Mississippi one of the major furniture pieces we left was a dining room table, but thankfully we quickly found a replacement with the relatively inexpensive INGO/IVAR solid pine table and chairs from IKEA. It’s small set, only about 48” long, but for the two of us in our relatively small Midtown apartment, it’s been a good fit. When we got them I promised, “I’ll paint these in no time!” But after nine months of procrastination, it was time to jump into action. I did some research about staining and painting IKEA furniture and found a lot of helpful forums and posts including this one by AJ at Handjobs for the Home.
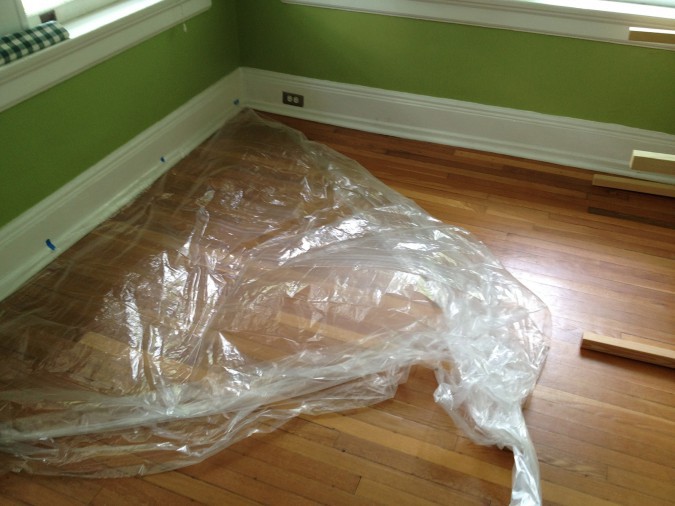
The first challenge for painting furniture in a 3rd floor walk-up is finding a place to work. I bought a 9x12 plastic drop-cloth which fit perfectly in our dining room (which has lots of windows for ventilation).
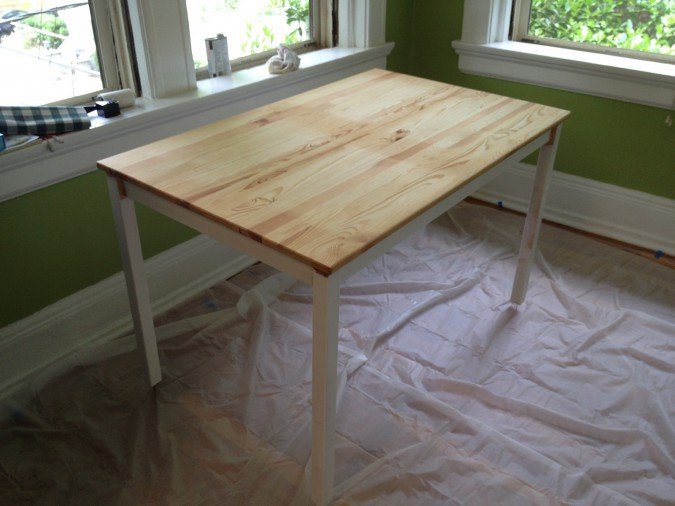
With the wood floors protected (our landlord would be proud) and our two dogs watching from the other room, I started by tapping nails into each of the table’s legs so I could paint the legs while the table was right-side up since I was staining the top at the same time.
For paint I hoped to get some self-leveling paint to hide the wood-grain of the pine, but the paint guy at Home Depot looked at me like I was speaking a foreign language when I asked for it, so I got some white satin finish paint/primer instead. To finish the top, I settled on non-tinted Danish Oil, which is a finishing oil that impregnates the wood and hardens, but is pre-thinned so it’s not quite as heavy-duty as something like Tung oil. (When comparing the directions, the Danish oil also seemed like the simplest to apply and fastest to dry, which made the choice easy.)
I tested the paint and oil on the underside of the table and everything seemed good so I started painting and finishing in earnest. I taped the underside of the tabletop so I wouldn’t get too much paint run-over. I applied about 4 layers of the white paint throughout the day waiting about an hour between layers. I think two would have done fine, but without self-leveling paint I wanted to make sure I had a thick and even coat to hide the grain as much possible. I applied the oil finish at the same throughout the day by pouring a healthy amount of oil on the surface of the table and using a rag to spread it evenly and then about 30 minutes later using the cloth to wipe away oil that hadn’t been absorbed. The table legs and sides were completely dry by the next day, but I continued to apply and dry the top for the next two days to ensure a thick, deep coat that would look good and also create a thick enough coat to protect the table from spills, food and normal wear. When my wife got back from her trip, we suffered through a few days of coffee table dining, but finally we’re done with the plain pine!
Is there a home improvement project you keep putting off? What is it or what do you need to do to finish that project?
Kyle has one more trick up his sleeve…check back next week for the second installment of Workin’ Wednesday!


