Last week I took a sewing class at a great local shop called Whipstitch. I actually signed up for the class well before we moved. I have wanted to know how to sew for a long time, and in fact spent one summer halfheartedly trying to learn from my mom. I created a few products but didn't really absorb the techniques I used to get there. I also thought a sewing class could be a great way to meet other people once we were in a new city. Whipstitch calls itself a modern sewing store. Sewing as a craft has had a resurgence among young, cool people, and Whipstitch's inventory, location, and philosophy reflect that. It is meant to appeal to people just like me!
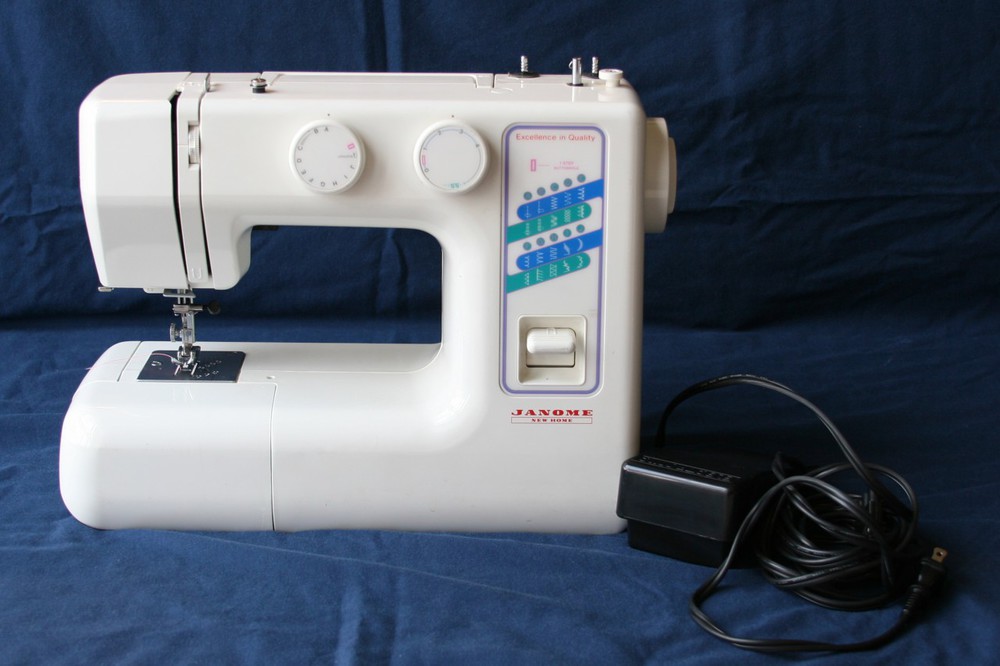
I have possession of my mom's sewing machine, the one I once attempted to learn on, because she inherited her mother's machine. I have no idea how old it is, but it seems to work fine and has most of the features a beginning sewer needs.
I bought a lot of "notions," as they're called, throughout the week, and there are still many more optional pieces I could eventually acquire. I think I bought something every day of the class. However, I was really impressed that my teacher, even though she works for a small, local sewing supply store, didn't pressure us at all to buy anything, and the things she did indicate we needed to buy, she made clear that we could also find elsewhere, and possibly for cheaper. I appreciated that, and in return bought most of my stuff there!
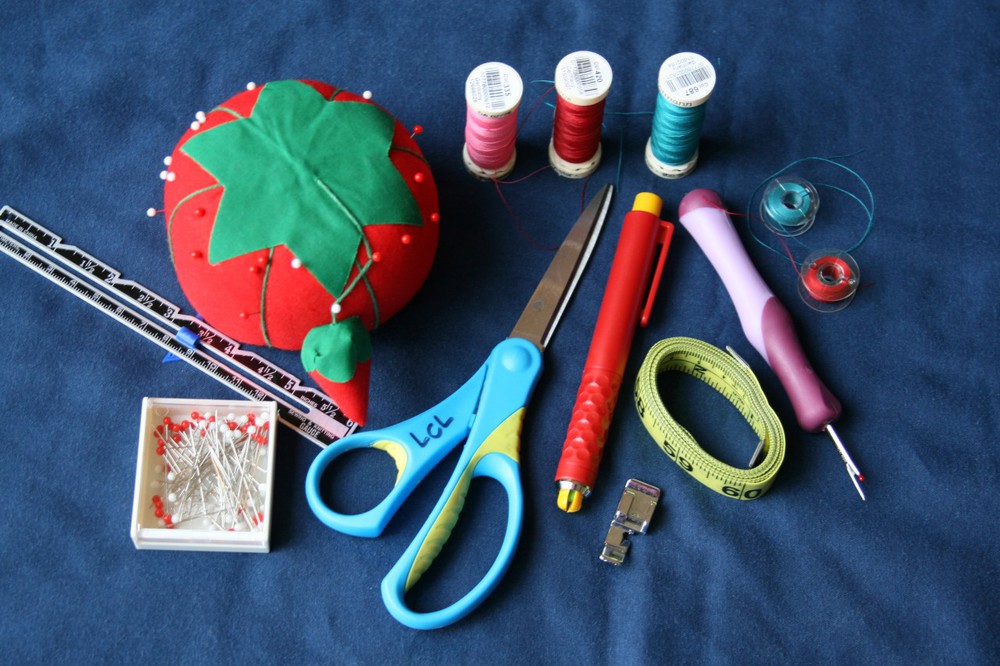
Here are the basics we needed for our class:
- Pins - I chose silk pins, which are very sharp and very tiny, so you can use them on fine fabrics without leaving a hole. They also have a glass head so you can iron over them without it melting.
- Hem Gauge
- A pin cushion - This is the classic tomato. The strawberry, rather than just being for decoration, has emery powder in it, so it can sharpen your pins, as well as remove oils or fabric residue. Who knew! There are a million other kinds of pincushions: magnetic ones, wrist ones, and all kinds of decorative shapes.
- Thread
- Marking chalk - This is like a refillable mechanical pencil of marking chalk. It came with lots of different colors of chalk inserts.
- Seam Ripper
- Measuring Tape
- Zipper Foot (although mine is not actually a true zipper foot, but it got the job done)
- Bobbins
- Scissors - These are my crummy old regular office scissors. Really for sewing you want HEAVY knife blade scissors that come apart for sharpening. These can run around $40. I chose not to invest in them yet but will if I continue to sew.
The most notable piece of equipment I did not buy is a good iron. I learned in this class that sewing is about much more than just making the stitches happen. In fact, cutting and pressing usually comprise most of your time on a project! So the quality of your scissors and your iron is really more important than the quality of your machine.
Though the class was project-based, in that we came home every day with a completed item, it put a lot of emphasis on the skills and techniques we used to make each project. The teacher made sure we knew how to transfer those skills and what other types of things we might use them on.
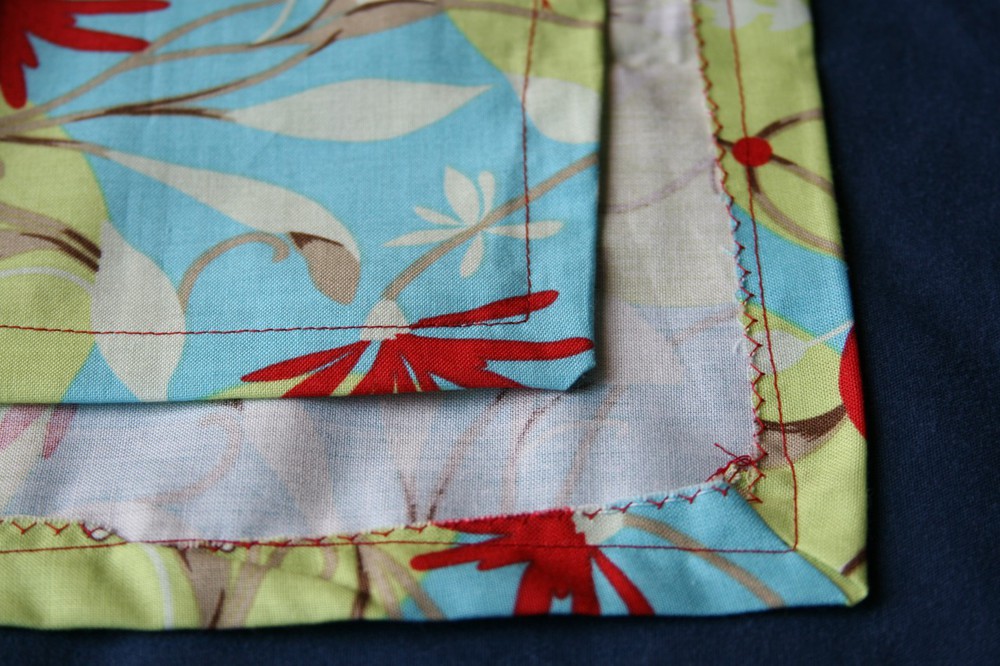
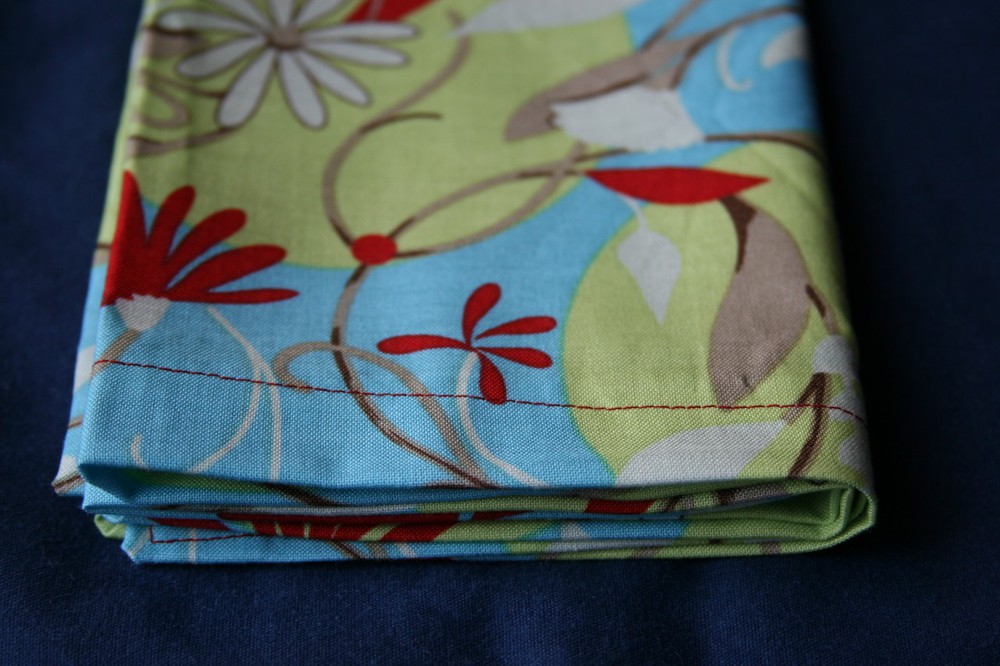
The first day we made a napkin. You can tell I really hadn't figured out how to sew a good straight line yet. You're supposed to use the guide lines on the "throat plate" of your sewing machine, but that's not quite as easy as it sounds!
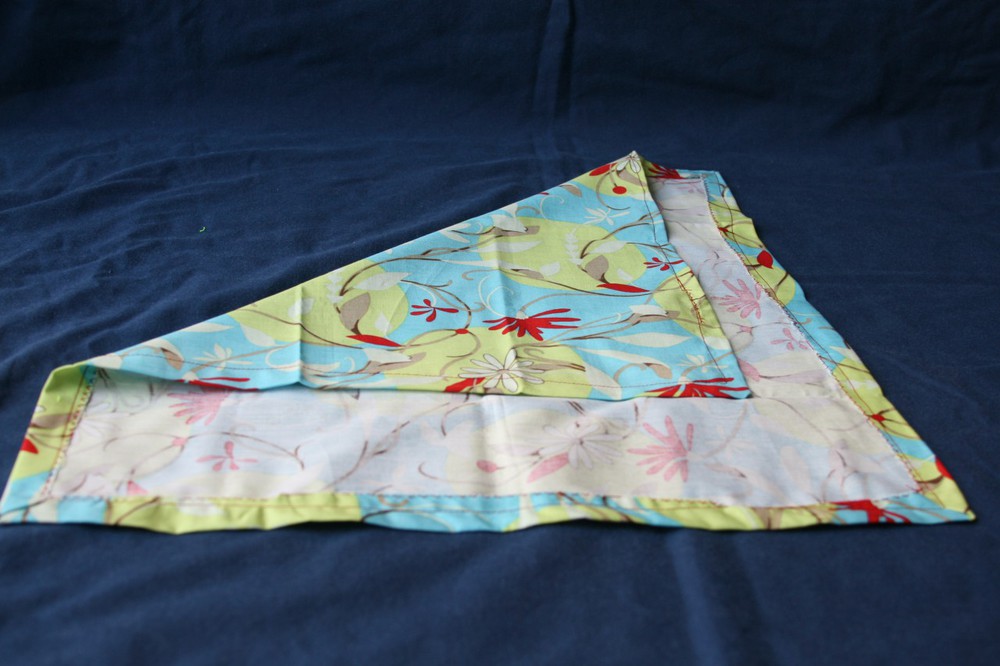
To bind the raw edges of our cut fabric, we set the machine on a zig zag stitch and went along the edge, allowing one side of the zig zag to land on the fabric and the other to land off. I wasn't exactly on target with this, as you can see. This project taught us how to do mitered corners, which is makes the corner nice and straight.
I'm not sure I'll be breaking this napkin out for any dinner parties, but it was a great first step into the sewing world.
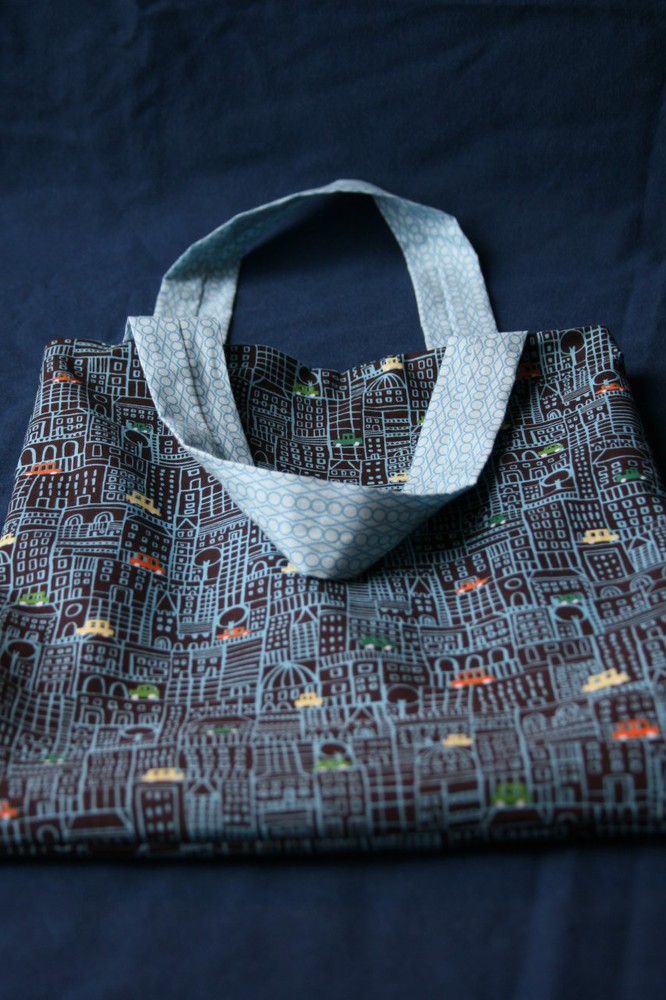
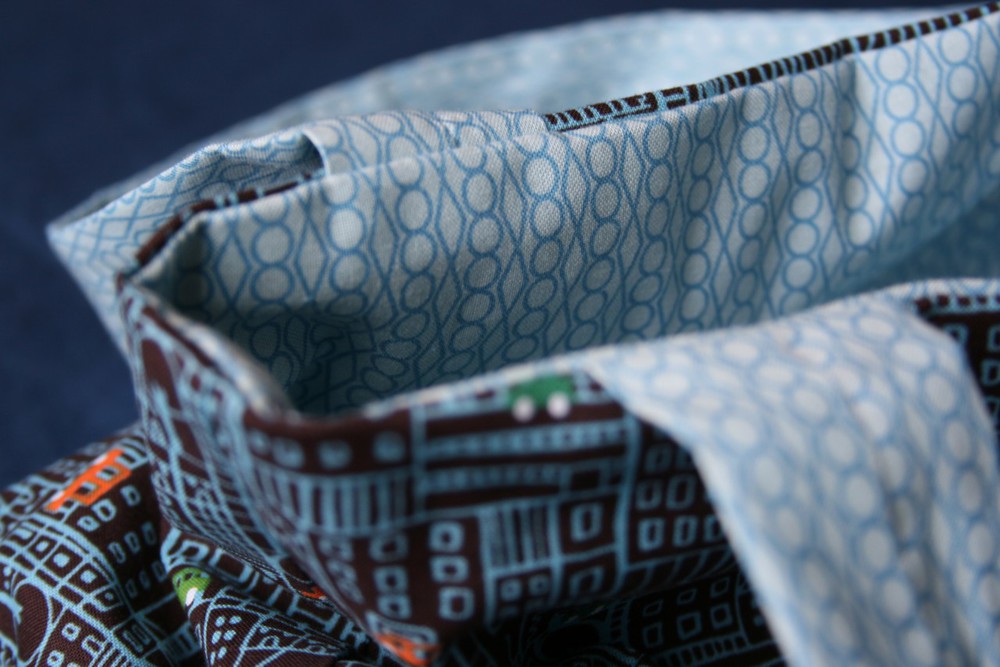
Believe it or not, our second project was a reversible tote bag, which I would have thought was way too complicated for the second day of class. But in fact, this style was pretty straightforward! I LOVE the fabric I picked for this, which made it extra fun to work on. In the course of working on our projects, we learned a lot about fabric and other general sewing information. For our bag, we had to think about the print directional. In other words, we had to make sure that the pattern was going the way the pattern was supposed to go when we turned things right-side out! (Another generality we learned is that sewing happens inside out and upside down.)
I can't honestly remember the exact process of making the bag. I do know I was pretty confused at the very end and had a horrible sinking feeling that I had done it backwards, but as you can see, it all worked out. I'm going to try to make a smaller version of this bag with some quilt batting in between the layers as a case for my Kindle, and I'll be sure to let you know how that goes.
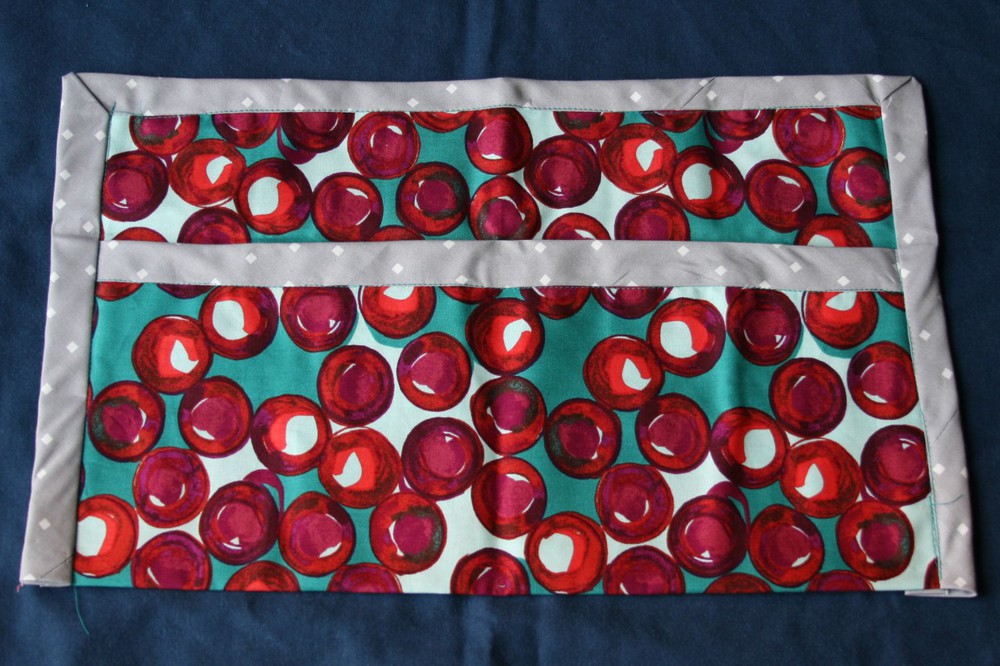
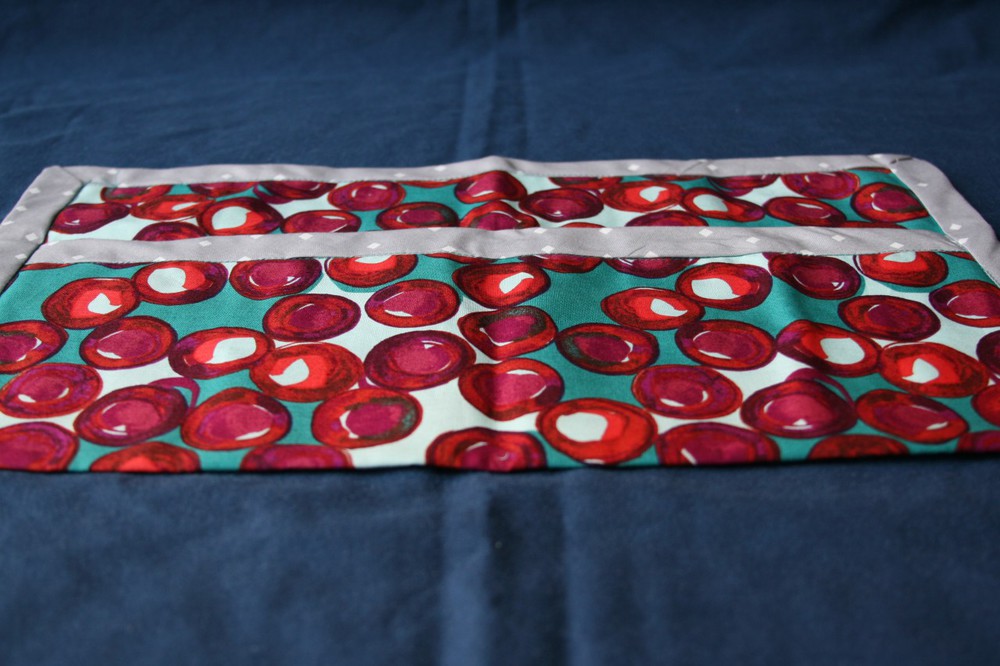
On the third day we made this picnic placemat. It's meant to allow you to put napkins and cutlery (or anything else like knitting needles, makeup brushes...it doesn't have to be for a picnic!) in the pocket and then fold it around for transporting. I don't love the product at all. Part of my problem was that I couldn't imagine what I might want to use it for, so I had trouble specifying the height of the pocket. One person in my class took hers home and sewed straps to the outside edges to make it an apron! I love that idea...I might either amend this one or give it another shot to make something similar.
What was important about this project, though, is that we learned how to make bias tape. You can buy this, or you can make it out of a coordinating fabric, which definitely seems like the more fun option to me. The bias is the stretchiest direction of a fabric, so if you cut along it and make a long strip of it, it will be very stretchy and great for using in places that need some give, like the top edge of a pocket. Or, you can just use it to be pretty!
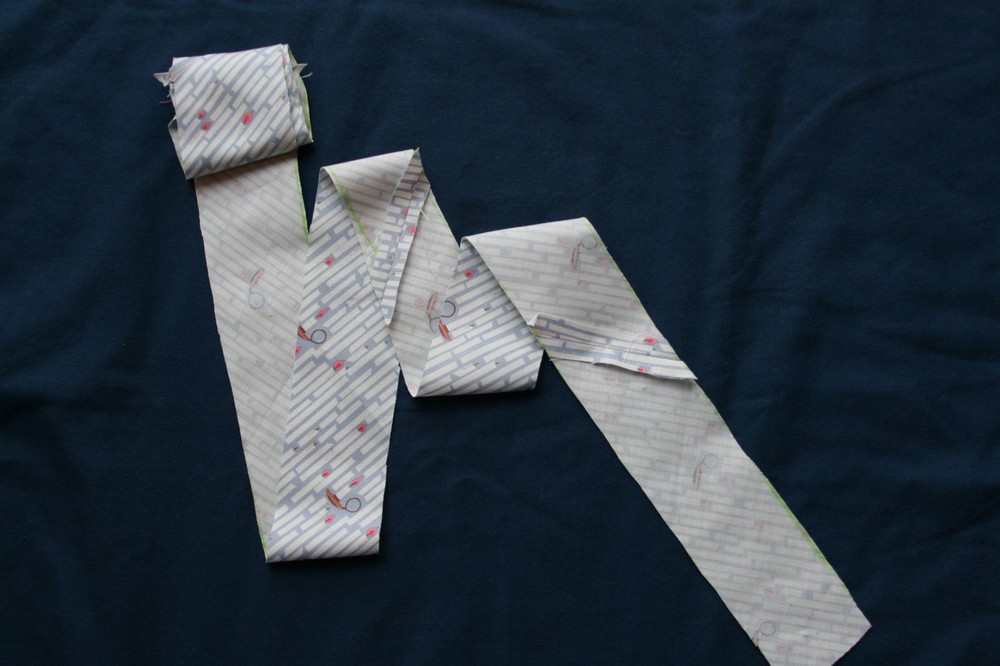
Here's the bias tape I made as homework for the next day's project. You basically fold your piece of fabric on a diagonal to find the "true bias," cut along it, and then sew the pieces back together as a parallelogram. Then you mark diagonals at equal intervals; the intervals will be the width of your bias tape. (You can see the faint remnants of my obnoxious green marking chalk in this picture.) Then you match the offset opposite edges together and sew the fabric into a big tube. As you cut along the marked lines around the tube, you end up with a long strip! There's a fancy little contraption you can pull the strip through that brings the edges in as you iron to make a more finished looking product, but we didn't need that for ours.
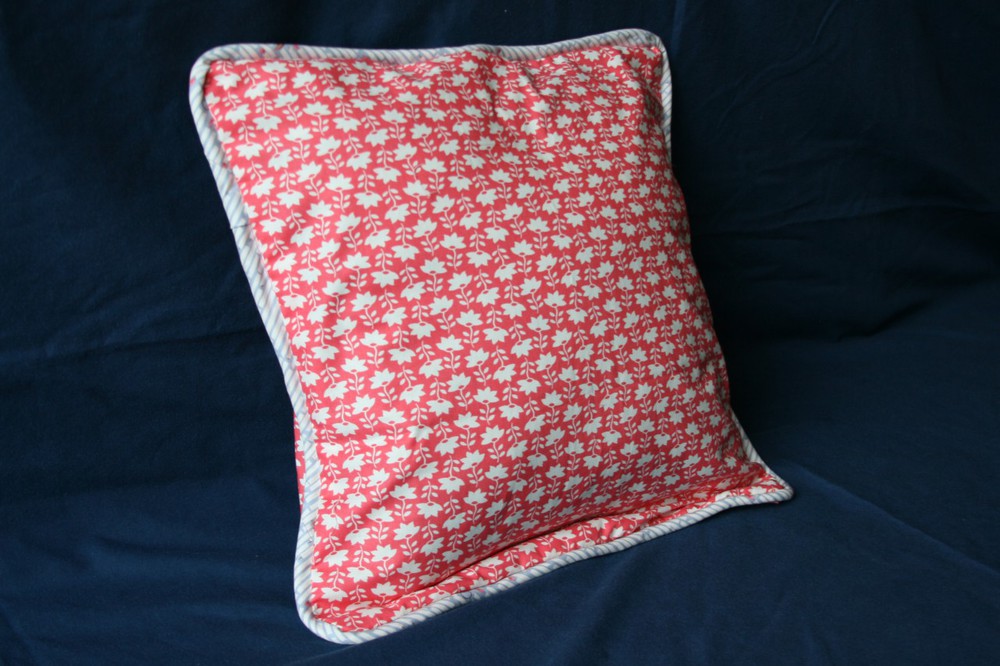
This bias tape was to serve as the covering for cording on a pillow. I made a 16 inch pillow because I had a 16 inch zipper, and here it is on what I think is a 14 inch pillow that we just happened to have at home. A's comment about this was, "That is so pink," so I'm not sure how long it will be allowed to live on our couch, but that's where it is for now.
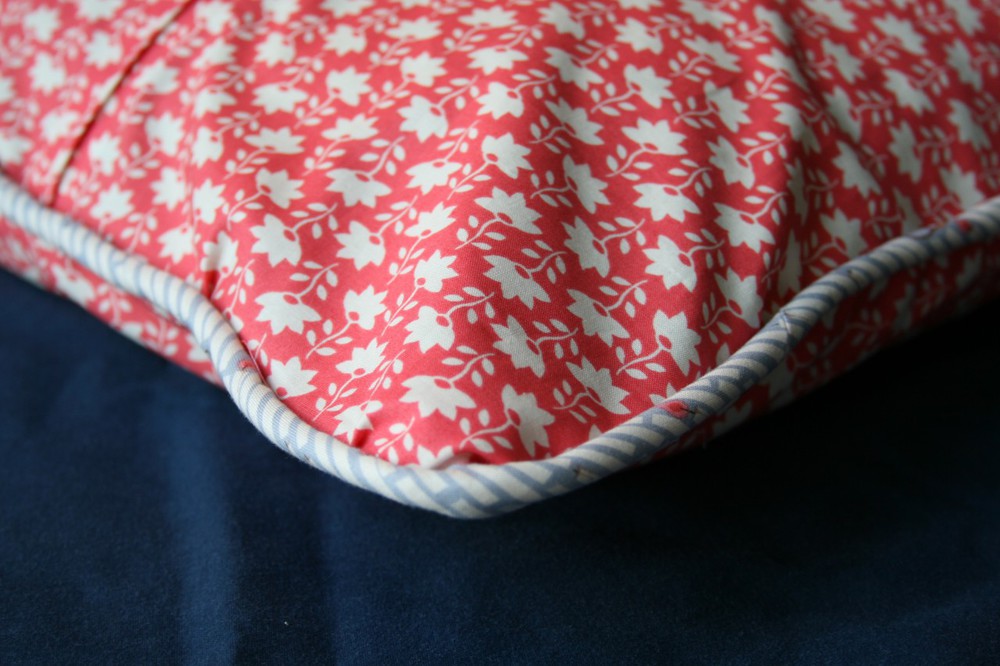
The pillow taught us a ton of transferable techniques, one being making the piping around the edges. In short, we sewed the bias tape around a length of plain cording and then sewed that in between two layers of fabric.
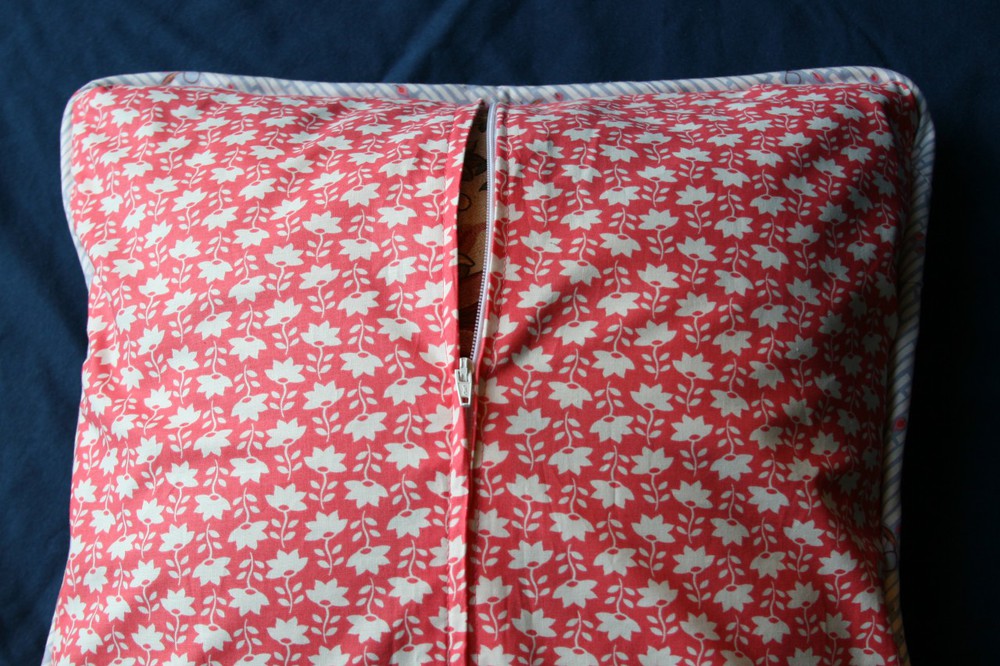
We also learned how to install a zipper. It looks so nice and clean from the outside because we made it with flaps of fabric over it. Some of this had to be sewn blind, and most of my lines aren't straight in the slightest, but you can't tell from this view! I broke my first needle doing this part because I inadvertently sewed over the metal zipper stop. Metal needle on metal is not good. Luckily the pieces flew away from me instead of toward my eyes. And I'm almost just as glad I went ahead and broke a zipper while I had supervision, because we had been warned that it tends to happen and I was terrified. But it really wasn't that big of a deal--I had extra needles in my machine, and you just replace it and keep going.
I bought the book that sort of goes along with the class, and I think I'll be glad to have it as I try to re-visit some of these projects. It's called Stitch by Stitch, and it's written by Deborah Moes, who owns Whipstitch. I've started reading through the introductory text of the book, and it's very well-written and accessible. Plus, I'll be able to make these cute projects and several more from following her included instructions! I'd recommend it if you're interested in sewing at all.
I had a great time in the class and do think I met some people I might keep in touch with. It helps me to have someone teaching me, rather than trying to muddle through on my own, so the small group class setting was great for me. While I can't remember all of the steps we used in these projects, I feel very comfortable with my sewing machine at this point, which I think is as big a step as any! I can wind a bobbin with the best of 'em by now. I'm looking forward to seeing where I take this and glad that I now have an excuse to buy the beautiful fabric I have always eyed lustfully in stores.
If you're in the Atlanta area, you might want to check out the Atlanta Modern Sewing Guild. They meet twice a month: once to create a project all together and once as an open sew to work on whatever you're working on at the time. I'm going to try to attend as a way to meet more people and get free help with some of my first solo projects! And I'm also going to look into taking more classes at Whipstitch. Who knows, before you know it, I just might be an Etsy celeb!
